When drawing an inside-cockpit view, X-Plane first draws the entire world, then draws the cockpit view on top of the world. This draw order ensures proper drawing when there is translucency in the cockpit (particularly on the windshield) and also solves some Z-buffer issues.
This draw order is very wasteful of “fill” – that is, many pixels on the screen will be filled in by the GPU with clouds or ground, only to be completely overwritten by the cockpit. This GPU work is wasted work that can be avoided to improve framerate.
In a 2-d view, X-Plane “pre-fills” the screen with the 2-d panel’s background image. In the below picture, you can see the 777 2-d panel; on the right the 2-d panel has been disabled to show what is behind it. Note the absence of clouds and tarmac concrete behind the panel.
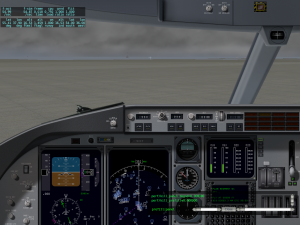
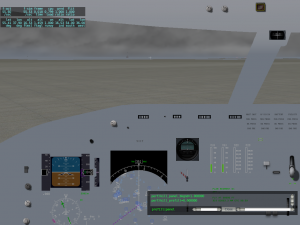
This matched set of pictures shows the same view with pre-fill disabled; note the reduced framerate. In this view, X-Plane is limited by GPU fill capacity (due to the combination of HDR and clouds) and the GPU dooes more work to fill in the clouds behind the overhead panel when pre-fill is disabled.
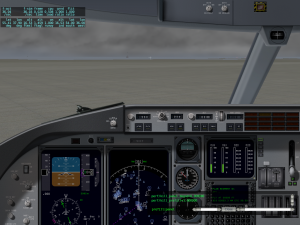
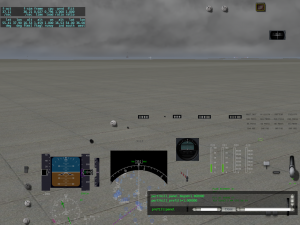
Pre-fill in X-Plane 10 is fully automatic for 2-d panels. As you can see, only the panel background (not the animated/overlay instruments) pre-fills, so you should make sure that your entire panel is at least covered with background.
Pre-fill is also available in the 3-d cockpit. Here you can see the 747 3-d cockpit; on the right the 3-d cockpit has been disabled, revealing that the clouds and tarmac are not drawn behind the objects.
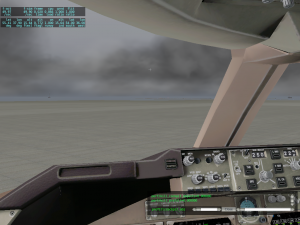
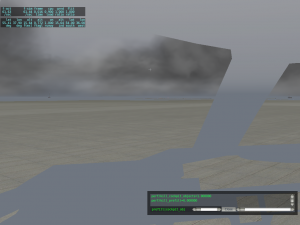
Note that there are some cases where the tarmac is drawn behind the panel. This is because only some cockpit objects are used to mask out the world, based on Plane-Maker selections. In this case, the airplane cockpit frame has a hole (where the dashboard autopilot panel fits in) and thus the masking is not complete. (This makes pre-fill slightly less efficient.)
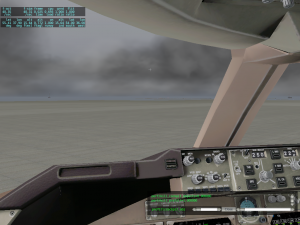
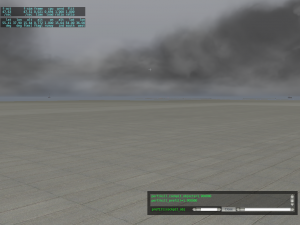
In this matched set of pictures, 3-d pre-fill is disabled, and framerate is lowered.
Pre-fill in the 3-d cockpit is not automatic; you must select which objects will be used to pre-fill. You should select objects for pre-fill that:
- Don’t contain any translucent elements.
- Are simple and quick to draw.
- Cover a lot of screen area.
- Face toward the inside of the cockpit; exterior geometry (one-sided, visible only from the exterior) won’t mask anything.
You can read more about setting up pre-fill on airplane objects here.
When authoring interior objects, consider “covering” all visible parts of the fuselage.
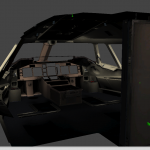
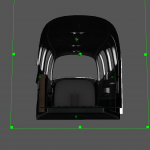
In the above pictures, the 747 cockpit shell contains holes for the flight displays and autopilot dashboard; the Baron’s interior is completely manifold except for the windows. Thus the Baron’s shell will mask the maximum amount of clouds, while the 747 (as viewed above) leaks a small amount of clouds.