This tutorial will walk through the creation of a basic paint job for an aircraft file in Plane Maker. It require only Plane Maker (and the image editor of your choice) to do so–it doesn’t make use of any 3-D modelling programs.
This tutorial assumes familiarity with the Plane Maker interface, and it references the aircraft file created from scratch in the basic aircraft creation tutorial.
Introduction
Plane Maker can be used to overlay a 2-D image on a 3-D aircraft model. For this tutorial, we will apply a very simple (and ugly) paint scheme to our example aircraft.
In order to understand how the textures are applied, we will look at the example aircraft found here: Bonanza_A36_painted.zip
Creating a Starting Point
We will begin by setting up the approximate placement of our aircraft’s parts in the image which we will create. From that data, we will have Plane Maker create a PNG file that will serve as our starting point.
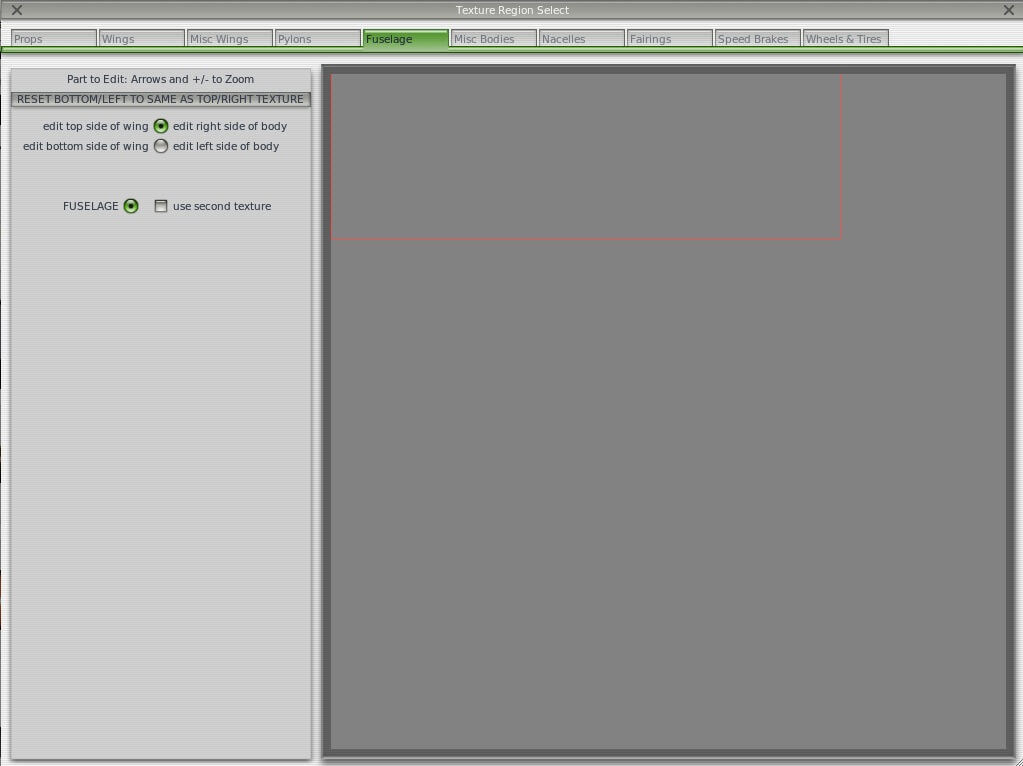
To begin, open the Expert menu in Plane Maker and click Visual Texture Regions. In the window that appears (shown in the image below), you can click and drag the flashing red boxes to change which area of the (currently non-existent) image will be used for each part. Move between each part of the aircraft using the tabs at the top of the window.

For now, don’t worry about modifying the positions of anything but the fuselage, wings, and engine nacelles–these are the parts of that plane that will be in the starting-point image that Plane Maker creates for us. For now, our biggest concern is making sure that none of these parts overlap one another accidentally. Note that you can (but do not have to) use the same area of the image for both the left and the right side of each part. Note also that you can check the use second texture box, which will force X-Plane to look for a second image for that part of the aircraft.
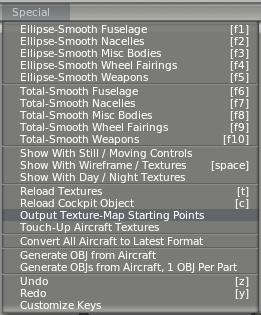
Once you get your aircraft’s parts arranged in roughly the positions you want them, close out of the Texture Region Selection window and click Output Texture Map Starting Points from Plane Maker’s Special menu.

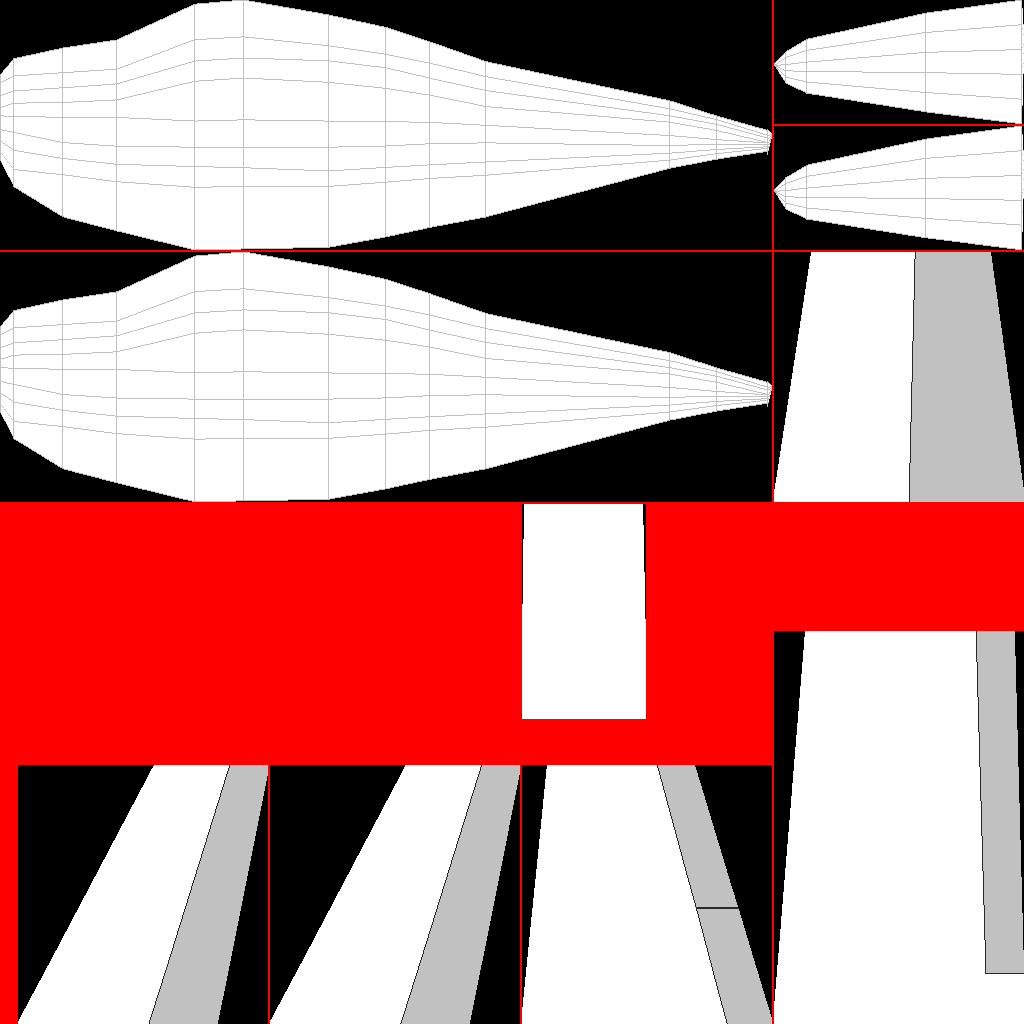
Plane Maker will automatically create one or two image files (depending on whether you used the use second texture check box) in your aircraft’s folder. It will also automatically name them properly. The first image (or the only one, as the case may be) will be called ACF file name_paint.png. The second image, where applicable, will be called ACF file name_paint2.png. Note that in order for Plane Maker and X-Plane to find the image textures, they must keep this name.
Note: You will need to re-create these starting point images each time you change the aircraft’s geometry.
Here’s what our example plane’s starting-point image looks like:

Note that images used with an aircraft file should have dimensions (in pixels) that are a power of two. For instance, the image could have a resolution of 512 x 2048, 1024 x 1024, 2048 x 1024, and so on, with a maximum resolution of 2048 x 2048. The image should be saved as a PNG. The files that Plane Maker outputs will abide by these rules.
Creating the Image Textures
Now that the starting-point PNGs have been created, open them in your image editor of choice. While it is possible to use photos of a real aircraft to create these textures, doing so is beyond the scope of this tutorial (for information on this, see the Creating Photo-Real Paint Textures tutorial). Instead, we used our image editor to create simple textures based on solid colors.
You will probably have to go back and forth between modifying and saving your image in your graphics editor and viewing it in Plane Maker. Press the ‘t’ key in Plane Maker to quickly reload the textures displayed on the aircraft.
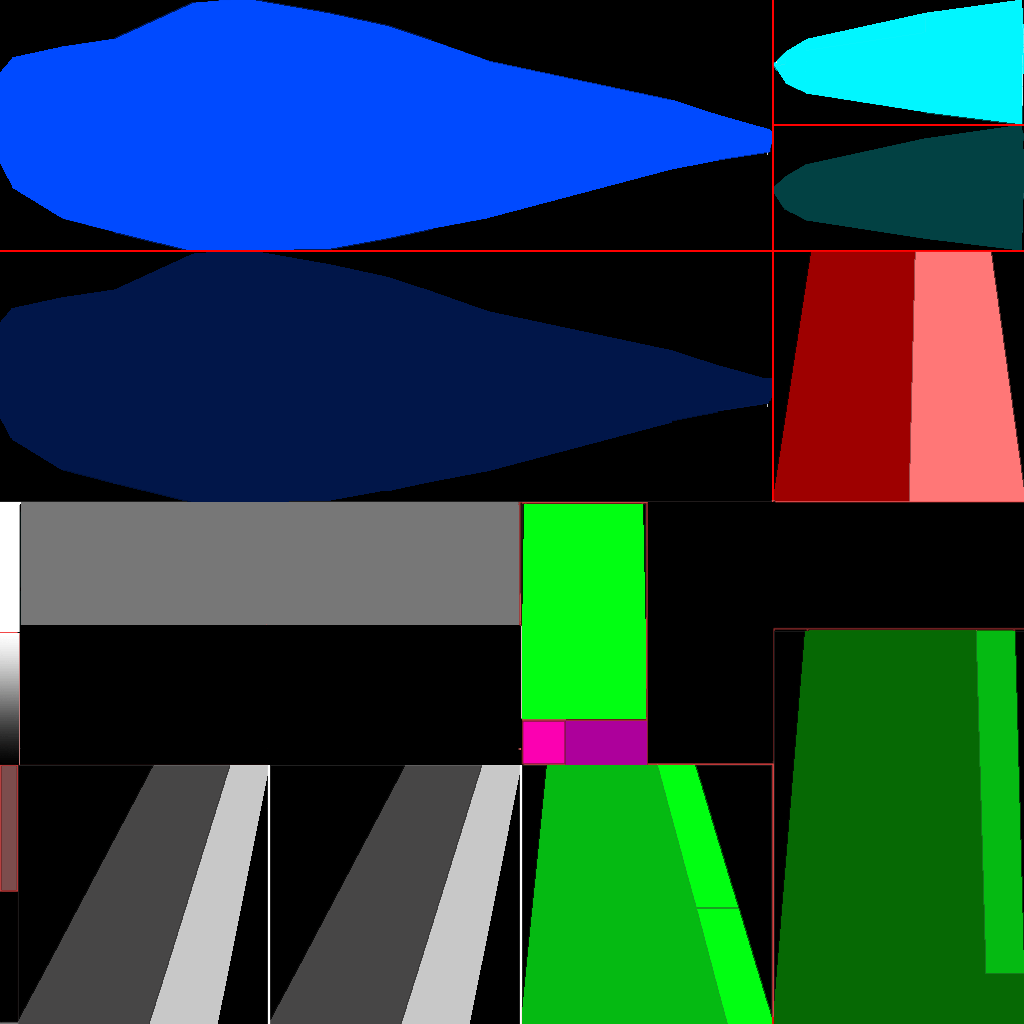
Here is our completed basic texture (which is also included in the aircraft package download in the introduction):

Adding a Livery
A livery is a second set of paint textures, which can be selected in X-Plane by opening the Open Aircraft dialog from under the Aircraft menu and choosing among the livery options in the bottom right box. To use an image as a livery, save it with the same name as the original paint texture (that is, as “ACF file name_paint.png”), but place it in a path that looks like this:
- Aircraft folder\liveries\Name of livery\
Thus, the complete path for our example aircraft’s second livery was:
- G:\X-Plane 9\Aircraft\Custom Built\Bonanza A36\livery\Labeled Parts\A36_paint.png
Compare this to the location of the default paint scheme, which was:
- G:\X-Plane 9\Aircraft\Custom Built\Bonanza A36\A36_paint.png
Note that you must use the same placement of the aircraft parts in each of your liveries; that is, the fuselage, wings, wheels, etc. must all be in the same place, respectively, in each image. The livery’s name in X-Plane will be listed as the folder name, thus in our example above, the second livery will be called “Labeled Parts.”
Final Notes
Once again, you can download the completed example aircraft file here: Bonanza_A36_painted.zip
For further reading, see the Creating Photo-Real Paint Textures tutorial.